Showing posts with label Goldwell. Show all posts

An Update on my Balayage/Dip Dyed Hair and my Hair Regime

Monday, August 20, 2012
Balayage Dip Dyed Hair Bangs Fringe Brown Blonde

My Balayage Hair Regime - Shampoos, Conditioners, Hair Treatments and Styling Serums: 1. De Lorenzo Novafusion 'Rosewood' (colour-depositing) shampoo; 2. Goldwell Dual Senses Color Shampoo; 3. Goldwell Dual Senses Colour Conditioner; 4. Goldwell Stylesign Hot Form (Straight); 5. Goldwell Colorglow IQ Full Blonde Leave In Treatment; 6. KMS Silk Sheen Polishing Serum; 7. KMS California Hair Play Makeover Spray; 8. Shiseido L HPT Oil Treatment

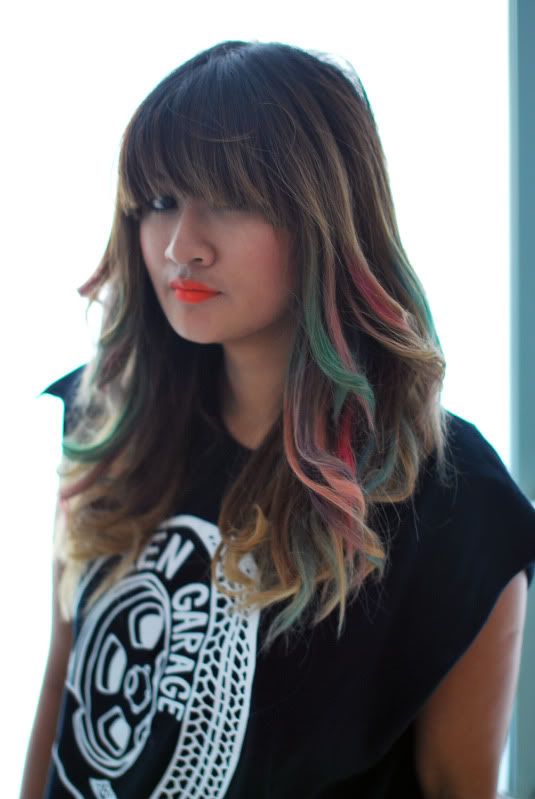
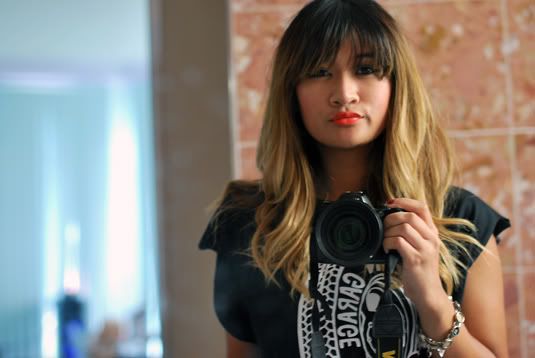
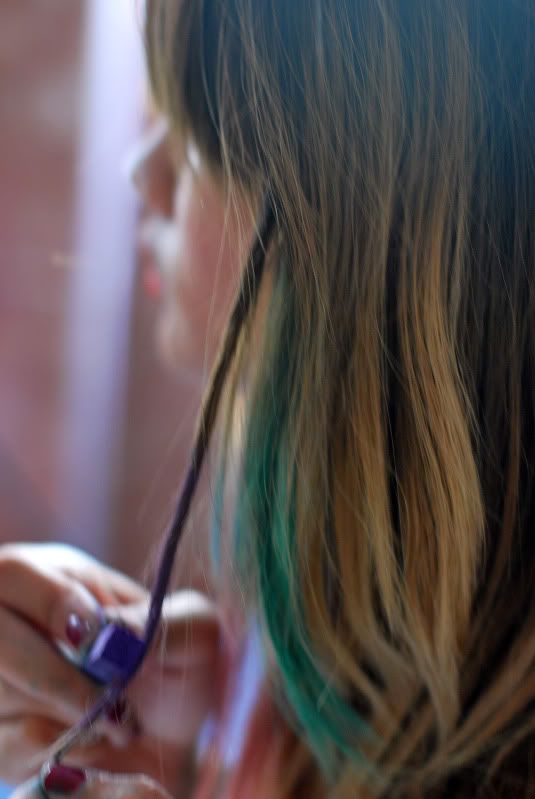
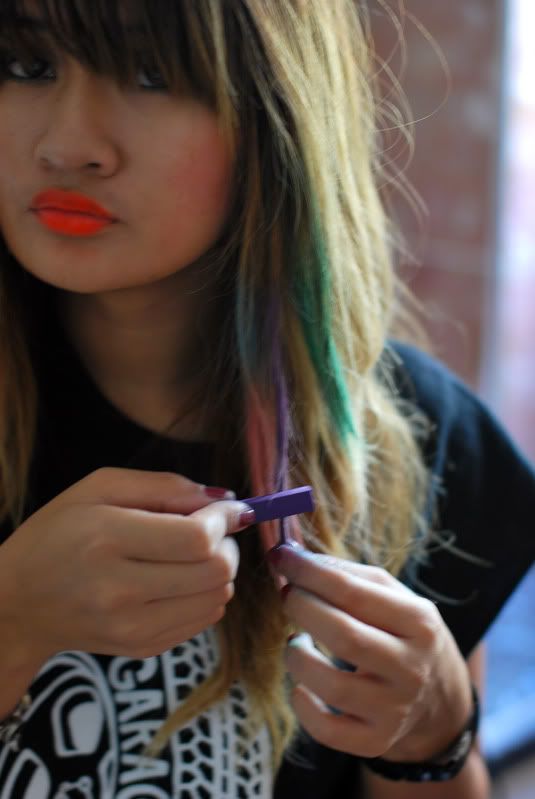
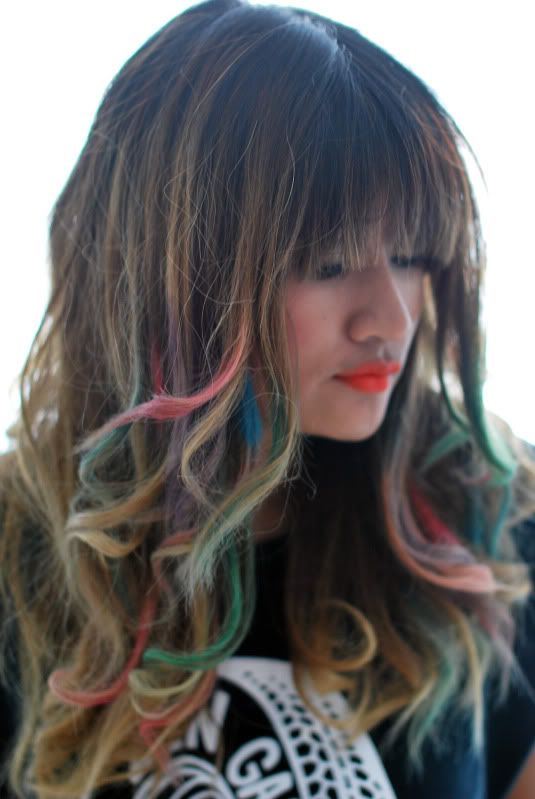
I've been wearing my hair in a balayage/dipdyed style for around 9 months now and I think it is becoming my signature. Although it seems like I use too many products for my hair, my balayage style is actually less maintenance than my once full head of blonde hair.
Being Asian, I'm prone to thick hair (and lots of it) and when we fry the ends to make them super blonde like mine, I suffer from dry hair and split ends.

To maintain, tone my blonde ends and to keep them smooth I follow this regime:

Shampoo and Conditioning (Items 1,2,3):
I need to make sure my blonde ends stay toned and don't end up a horrible brassy color, so I shampoo with a mix of De Lorenzo Novafusion 'Rosewood' shampoo (1) and Goldwell Dual Sense Color Shampoo (20c piece size x 20c piece size). The De Lorenzo Rosewood deposits purples into my hair to keep my blonde toned. Then I condition with Goldwell Dual Sense Color Conditioner.

Styling and Treatment after Shampoo and Conditioning (Items 4,5,6):
While my hair is drying, I add Goldwell Stylesign Hot Form (Straight) (4) to my hair. This prepares my hair for the hair dryer and my straightening iron and it has a lovely fragrance. After I dry and straighten my hair, I add Goldwell Colorglow IQ Leave in Conditioner (5) to my ends. This is optional but I like to use it keep my ends smooth.
Then I apply KMS Polishing Serum (7) to smooth out my fly away hairs, this is also optional, my hair is not very tamed.

In Between Washes (Optional, Items 7,8):
I shampoo my hair every 3 days because my hair is very dry so it doesn't produce alot of oil over time; and I don't want to stress my hair by over washing. There are times though when my bangs/fringe will become oily so because its my focal point, I spray KMS Spray Makeover (hair shampoo) (7) in between washes to keep it refreshed.
When my hair becomes unruly and tangles, I sometimes use Shiseido L HPT  (8) on my ends. I swear its a Miracle Worker, it really really does make my hair smooth and bearable to brush out my knots. I wouldn't be able to live without it. It's my secret weapon. And it's also optional.

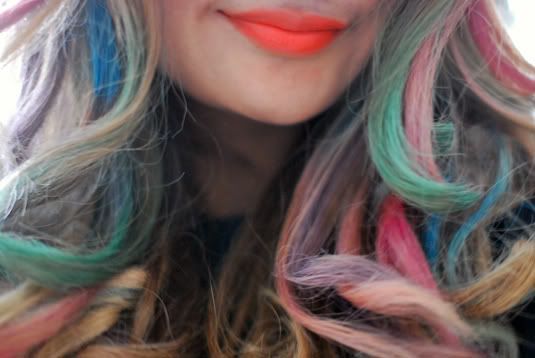
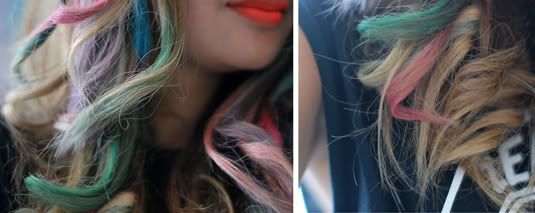
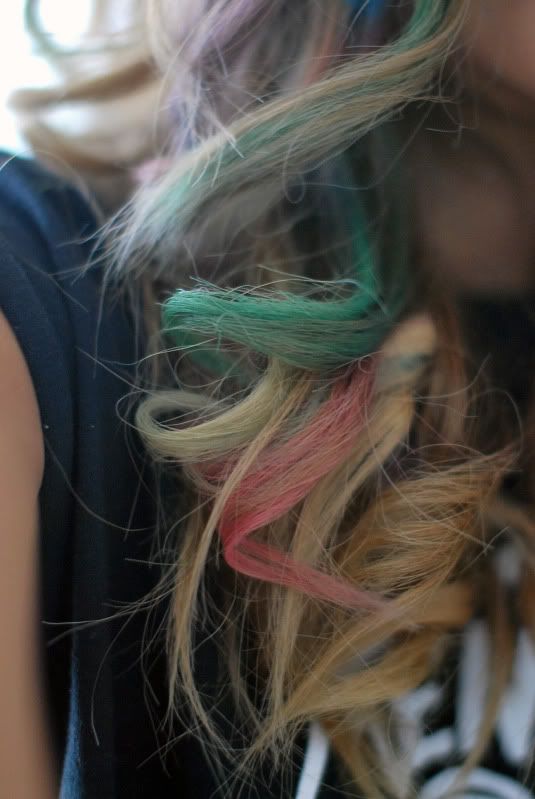
Well there you are, that is my hair regime. Many of my lovely readers ask me how I maintain my hair. The photos above are just a collection of my hair over time. You can see the rosewood tones in my blonde ends from the De Lorenzo Rosewood shampoo and how the KMS serum keeps my hair smooth and polished all the time. Note, Photos 1,3, 7 & 8 are the result of getting my hair redone professionally at the hairdressers. You can see a beautiful tone and difference in the balayage gradient. 


Chalking my Balayage Hair, a DIY tutorial with Pastel Chalks

Sunday, April 22, 2012
Balayage Hair: Before chalking
Munovo Soft Pastel Chalks
Twisting my hair as I go
Applying the pastel chalk in a downwards motion
Finished style, curled with a hot iron and some hairspray to hold it

What I used for my balayage hair: Munovo Soft Pastel Chalks Pack of 24; curling iron; light hairspray. (Water is only needed if your hair is dark, or you want to make colour brighter)

Chalking my Balayage hair: I was looking for a quick and temporary hair colour change for the upcoming Wish fashion showing I was attending. Chalked hair was a fantastic alternative to using my usual fudge - because it washes out straight away. 
  • To start, you will need to purchase some soft pastel chalks (do not get mixed up with oil pastels - too sticky! or normal chalk - won't release pigment easily). Soft pastel chalks releases good pigment and washes away with water.
  • If you have light hair such as mine, you can apply the pastel chalk straight to separate strands of hair.  DO NOT NEED TO ADD WATER. Twist your hair as you go, because the friction releases more pigments. 
  • Apply in a downwards motion, not in an up and down motion as so you do not get your hair tangled and ratty. It also helps to move in the natural direction of your hair.
  • Mix two colours on the one strand of hair for more fun, it can give a tie-dyed effect!
  • If you want a more intense and brighter colour to your hair, you can add some water as you apply (please note this can cause staining and can stay in your hair for longer than one wash because the powder is now more like a dye).
  • If your hair is dark, you will need to add water anyways for the colour to show
  • After chalking, you can use a hot curling iron to curl your hair or just to 'set' the colours into your hair. Finish off with hairspray if needed.
  • Please note the chalking powder may come off during the night - try to wear dark colours or same colours as hair to avoid the stains showing.
  • Be careful of wet weather! Rain will make the chalk run, and you definitely do not want that happening. Use gloves and towels to avoid getting the chalk everywhere as you apply.
I found a great beauty tutorial here on The Beauty Department. This article comes with some very helpful tips! I used 5 colours - pastel pinks, dark purples, greens and blues. I applied to the front layers of my hair. But you can use your imagination and use as many colours as you like.
After I shampooed, I used my Goldwell conditioning treatment to treat my ends, I won't lie, the chalking really dried out my hair. So I won't do it often, but I love it still.
Happy Chalking!

xx Natalie

Related Posts Plugin for WordPress, Blogger...